
Next thing to get out the way, is less than pleasant. I have unfortunately crossed over the to dark side and will now be attaching advertisements to the blog. It will just be 1 advertisement at a time and be hardly noticeable, but I'm low on cash and could use some form of monetary compensation for my work. Life of a college student right? I promise to keep it from being annoying and to keep your experience here at Des-Evo still as pleasurable and exciting as ever.
Now that the stupid stuff is taken care of, lets get to the fun part.

This picture, as mentioned earlier, is the layout to my new web page. I wanted my about.me to give a hint of my skills and still give a picture of my beautiful face (considering that will attract more people than anything). Making a long story short, I stumbled this style of giving the image of cracks being on a face. There really is an art to this besides downloading crack brushes, applying them, clicking overlay and being done. Let's see how...
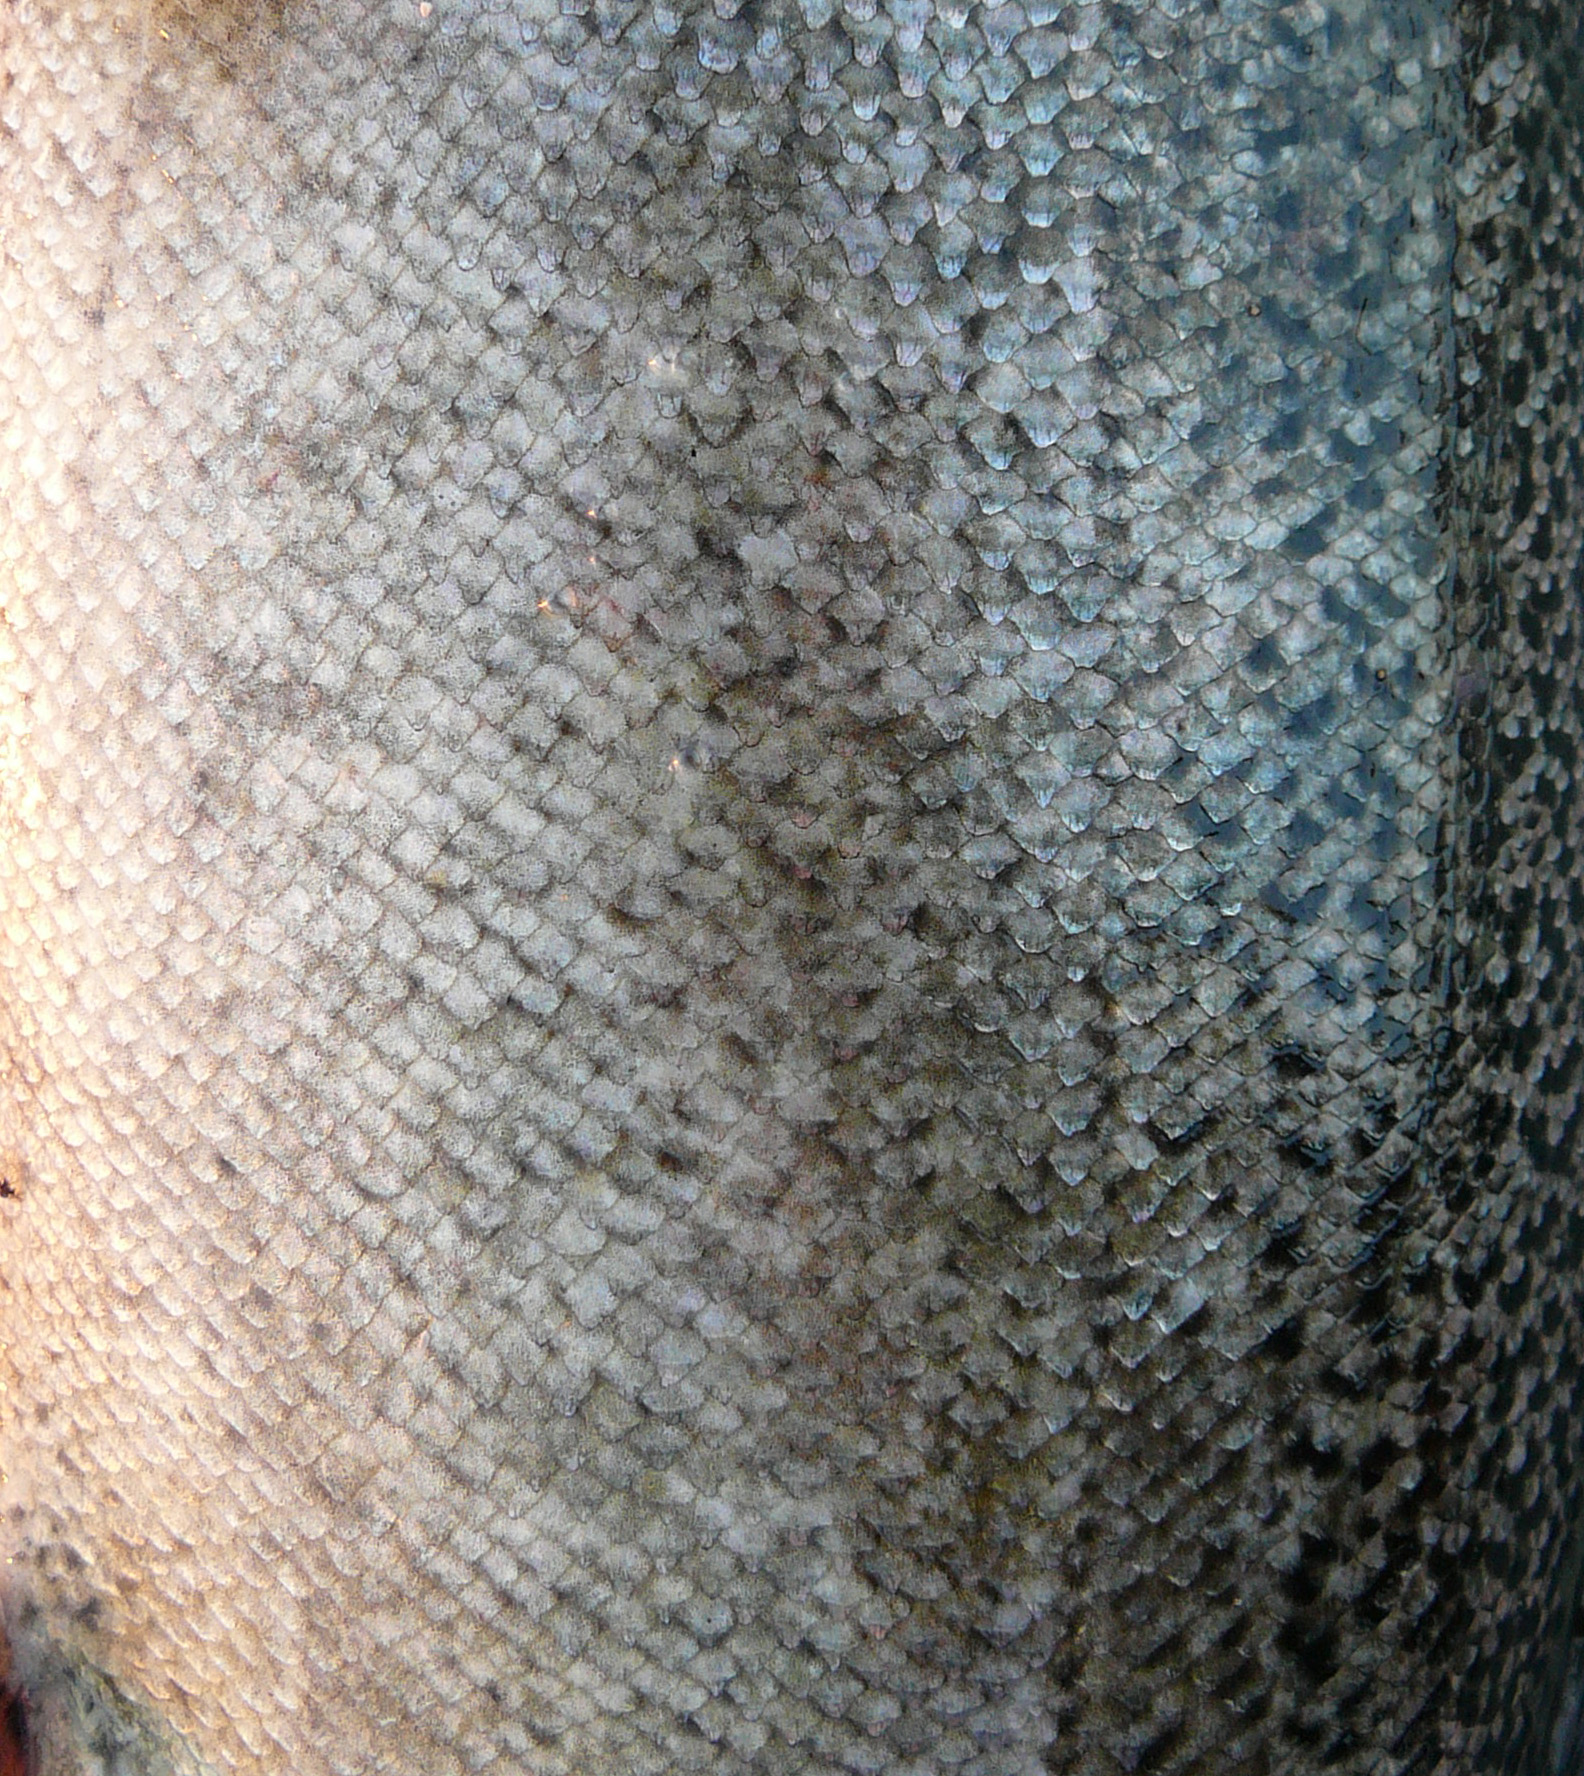
Find an image that gives off a dark and gloomy look, it'll really set the mood.


Now you're ready to begin, but before you do prep your picture. No one wants a bright, pretty picture of their face peeling off... Go to Image --> Adjustments --> Levels. Mess around with this to give the natural shadows of your face more distinction.

Now you're all set and ready to go.
Now the usual procedure is as follows:


Now you're all set and ready to go.
Now the usual procedure is as follows:
- New layer
- Apply brush strokes (from the cracked set you just downloaded) on the new layer
- Overylay
- blah blah blah
Follow these tips to make it professional grade:
- Create two copies of the original picture.
- From there select the area in which you plan to "crack".

After that, while still keeping the area selected, Desaturate the new layers.

For one of the layer copies (order doesn't matter), repeat the above step that dealt with using the Level adjustment. This will increase detail when you change the blending options of the layers.

For the next one, use the Hue/Saturation to create a satin type of feel across the area. This will enhance the cracks. Make sure you have the colorized box checked off.

Now create a new layer on top to apply the brushes, apply accordingly and hit Overlay. When choosing a color for the brush, take note of a few things; on light and fair skin, darker brown/black is prime. For darker complexions, white gives an extra subtle effect. Also, as you will see, it would be wise to check out the color scheme of the picture. Be creative and color your cracks in association with the picture.
On this very layer, right click it go to Blending Options --> Inner Shadow. This can separate a good crack from a great one. Increase the distance of the shadow

Now just let the top 3 layers go into Overlay. Some pictures may be to dark, take out the desaturated layer without the Hue/Saturation.
Also something to do its after your done, select the entire person, inverse selection, feather it a bit, and delete it. Make sure you have a white background, you now have a glow amongst your picture. Be creative, try something new.


![[x]](http://i872.photobucket.com/albums/ab283/CJphotoshop/IMG_0002_1.jpg)
![[x]](http://i872.photobucket.com/albums/ab283/CJphotoshop/textshadow.jpg)
![[x]](http://i872.photobucket.com/albums/ab283/CJphotoshop/textshadow4.jpg)
![[x]](http://i872.photobucket.com/albums/ab283/CJphotoshop/final.jpg)