It seems I have taken a lengthy posting hiatus but for good reason! I started my second job last week and the original reason I got this job was to gather enough money to pay for a new rig I was going to build. Reason for said rig was that my old one s@#! the bed. Luckily, after both Best Buy and IBuyPower.com (where I bought the computer) said they couldn't run a diagnosis I decided to go through my own set of hardware diagnostic tests. Come to find out my GFX card blew, which I guess is better than my motherboard, but still an expensive set back.
Luckily for me I still have both jobs which allowed me to get the captivating Canon EOS Rebel XS 10.1 MP. My second camera ever and most certainly the one with the highest caliber. This will now allow me to take my own high quality pictures where I can create my own image not just through Photoshop, but through my own eyes without the limitation of an image search engine. Also I've created a wish list which I leave detailed later on with only the relevant items to my work.
Now as my productivity should be seemingly on the rise, I must admit my blessing is my curse. The 2 jobs help exceedingly over time, but this very time will serve as my greatest obstacle. I work either 4 hours a day, 8 hours or 14 hours. My days off I am forced to take myself to the realm of the outdoors where this so called "social life" will be turned upon me. In the mean while when I'm not dying from exhaustion or mingling amongst my friend(s), I'll be taking and creating my own stock photos for any kind of project I have in mind. My next project will be following this video.
The Wish List
[x] GeForce GTX 470 (Fermi) 1280mb w/ 6ft. hdmi cable
This on top of my dual 3.33ghz processor should allow me to run Photoshop CS5 and hook up my camera to my computer. Doing this will enable me to take a picture and have it instantly transfer to my computer for a quick editing all in full HD.
[x] Samsung 32-inch LCD 1080p HDTV
This larger than life monitor paired with the video card and cable previously mentioned will let me view and edit my photos and projects with surprising detail and accuracy.
The money isn't quite there but I guess that is why I called it a wish list and not a shopping list.
July 8, 2010
June 21, 2010
Fruit Bat Or Rabid Pacman? You Decide.
Pacman with rabies... or a fruit bat who lived in Florida to long? I came up with this idea in a peaceful state of mind. Just coming of work, giving my self time to relax, my mind began to wonder off to an area soon to be recognized as an epiphany. "What if such names as the fruit bat were meant literally?" I ask myself. I concur that such genetic engineering and polymorphism can only be done with the magic of Photoshop. Searching for more animals with sharp fangs and Hi-Res fruit photos I came up with some pretty interesting combinations. Previously shown was the Fruit Bat Orange, although the actual sample photo used may not have been that species particularly, the pun still remains. Also we have Shark Infested Red Apple, and Tiger Smith Apple. The collection is soon to grow and the entire photo album will be posted below Please keep checking as I promise to involve snakes and alligators soon. Give your suggestions by clicking the comment link bellow.
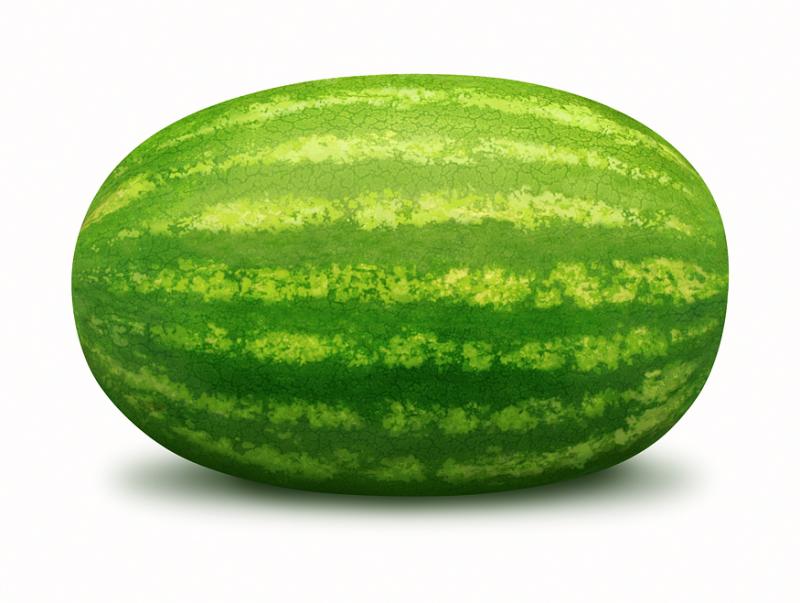
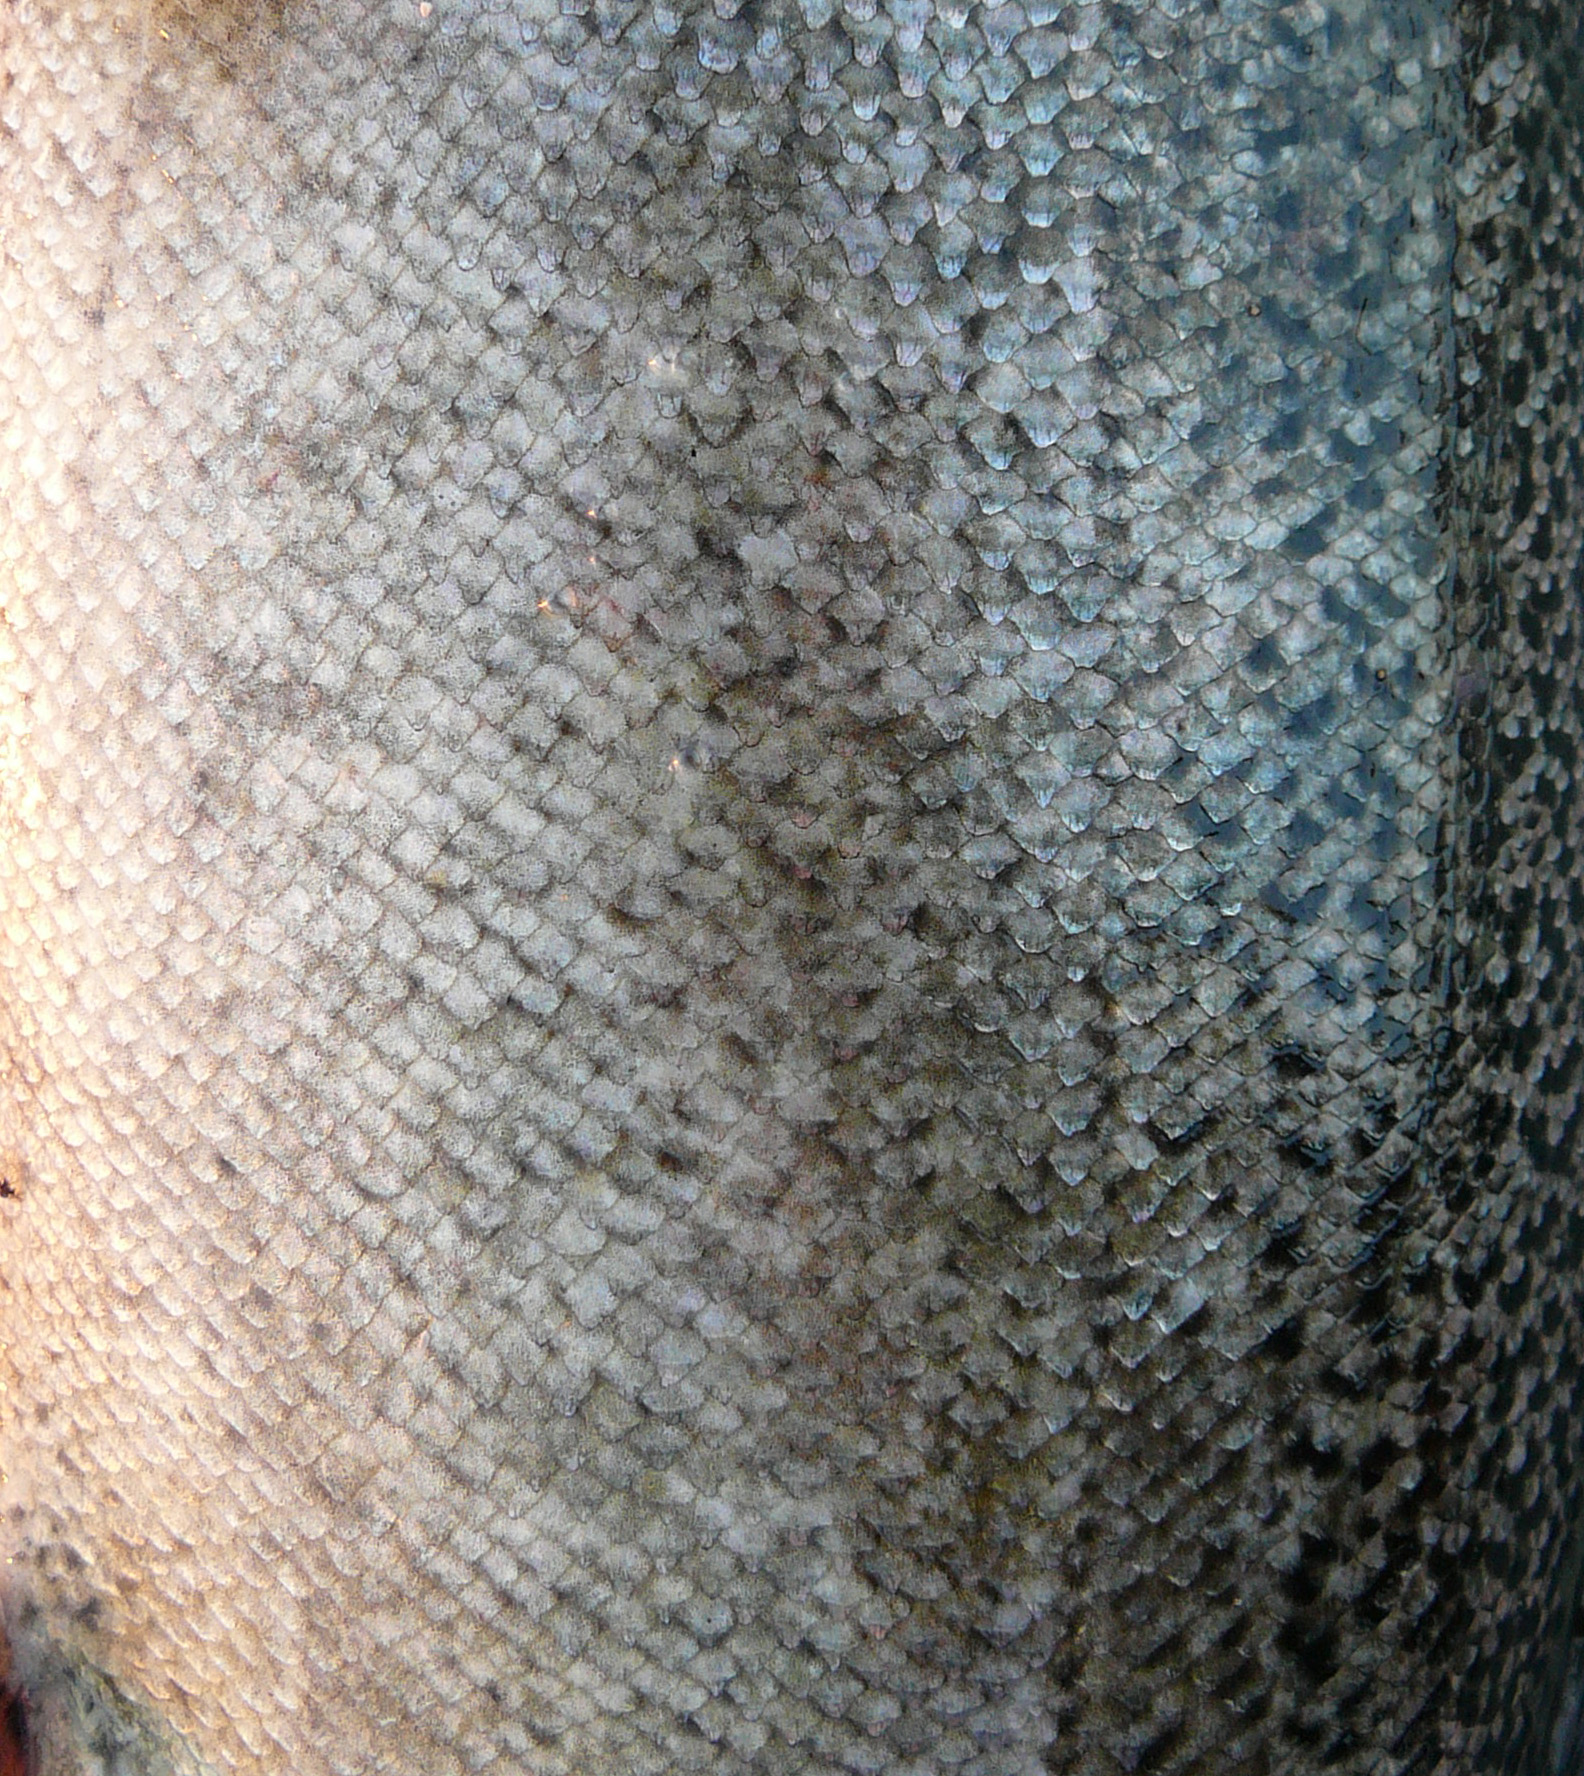
Behold the Piranha Melon. Although fruit with animal mouth's was pretty cool I wanted to experiment and up the ante a little bit. Working with textures and overlay a bit more I tried to incorporate some added detail to the piece. Using the watermelon stock photo, I added fish scales, a mouth from a piranha and a dorsal fin from some other fish I can't find the link to. Also I had to try a new technique with the mouth. Since fish don't
a defined lip i couldn't decide where to cut it off at, so I made a selection and feathered it a bit. Same with the dorsal fin. Tell me how it came out. (btw the extra side fin and eye just weren't coming out for me, I'll probably keep trying)
--------
On a side note, I have undergone some recent and significant hardware changes. These drastic changes are accompanied by both good and bad news. I have decked out my room to increase productivity by separating the desktop and laptop which were previously both at my desk. Putting the desktop to my TV will now allow me to use dual screens for my laptop proving to be a much more efficient working environment. Also on the good side I have acquired a new Microsoft mouse and HP keyboard shown here.
Now for the bad news: Although I did fix my desktop after its crashing (yay!) I unfortunately diagnosed the real issue. A blown out video card, my $400 GeForce 8800 gtx tanked on me. How sad. I'm now saving up for the Geforce gtx 470. Until then, my laptop is now my weapon of choice.
**Newest Update**
a defined lip i couldn't decide where to cut it off at, so I made a selection and feathered it a bit. Same with the dorsal fin. Tell me how it came out. (btw the extra side fin and eye just weren't coming out for me, I'll probably keep trying)
** **
--------
On a side note, I have undergone some recent and significant hardware changes. These drastic changes are accompanied by both good and bad news. I have decked out my room to increase productivity by separating the desktop and laptop which were previously both at my desk. Putting the desktop to my TV will now allow me to use dual screens for my laptop proving to be a much more efficient working environment. Also on the good side I have acquired a new Microsoft mouse and HP keyboard shown here.
Now for the bad news: Although I did fix my desktop after its crashing (yay!) I unfortunately diagnosed the real issue. A blown out video card, my $400 GeForce 8800 gtx tanked on me. How sad. I'm now saving up for the Geforce gtx 470. Until then, my laptop is now my weapon of choice.
June 16, 2010
A Magician Never Reveals His Secret...
Magic Text using Photoshop CS5
So stumbling across YouTube I find this neon looking text with a mystical type background. After what I thought to be my computer screaming "CLICK HERE! CLICK HERE!", I decided to embark on what soon to be an epic adventure in the art of Magic Text. This outspoken link brought me to a tutorial. Now this tutorial opened the gateway of what will soon be the base and foundation of my Photoshop career and furthermore, this blog. The tutorial I found was made in Photoshop CS3 and luckily it worked in Photoshop CS4 which, at the time, was the current version of Photoshop. After learning this tutorial to the very brush stroke I began making these text effects out of personal amusement. Later I received a request from a friend to use his name in this effect and all of a sudden i'm popping out Magic Text like babies after WWII (the baby boom for those who are historically challenged...). The album posted below are some of my better work using Photoshop CS4:
So posted below, in Photoshop CS5*, is a speed painting of magic text. As I went through it with CS5 I met a lot of turbulence in my creations and had to edit the routine slightly. Using black and white where colors once were and Overlay instead of Color. Luckily for you I will be proving my own title wrong and creating a tutorial on the differences in Photoshop CS3 Magic Text vs Photoshop CS5 Magic Text. Also, as always, I added a few things of my own just to give some extra spice to my work.
*I do plan on reviewing Photoshop CS5 and explaining the newest features and major differences granted the public demands so. Please comment your feedback on the photos, videos, and idea for a review.
June 13, 2010
Every Great Story Has A Beginning...
Disclaimer: Those who have not seen Get Him To The Greek please don't judge the brief profanity and ignore the spoilers.
In light of the media editing theme, it would be wise for me to include some video editing projects. One particular field I want to begin accelerating in is the art of intros. You never see any type of good presentation or performance without an equally extravagant introduction. It sets the tone for the rest of the event, catching your audience from the get go putting them into your grasps, honing their feeble minds with 10 seconds of "This is my company, I made this, Enjoy". P. Diddy from Get Him To The Greek may say, this is a great way to mind f@#% your audience. I agree with you P. Diddy and will follow your ways in the ancient art of mind f#@!ing.
As to begin, The software I use to create my videos and such is none other than Sony Vegas Video 9 pro. Adobe After Effects proved to be a lot more confusing and complicated than I anticipated forcing me to learn the software on my free time. Vegas Video how ever is rather simplistic while giving me seemingly professional grade material at an elementary learning level. I just condescended my own intelligence huh? Add that to someone's fail blog... Moving along from my ADD moment into the primary basis of this entry.
In an effort to capture my audience, also know as "mind f@#!ing", I have experimented in the area of introductions. I have played around with lighting effects. lightNing effects, epic music, sound bites, tutorials and my own creative undertaking. Displayed are some of my favorite results, also check out the Hartford Cribs introduction just previously posted.
I just enjoyed making this because a few of my close friends like to call me Superman. Unfortunately it isn't due to my extraordinary superr strength or ability to fly, but simple because of a certain shirt and hat...
On a more serious note I needed something to represent the blog and that I mean buisness. So I pulled a sound clip from here and decided to create this:
In light of the media editing theme, it would be wise for me to include some video editing projects. One particular field I want to begin accelerating in is the art of intros. You never see any type of good presentation or performance without an equally extravagant introduction. It sets the tone for the rest of the event, catching your audience from the get go putting them into your grasps, honing their feeble minds with 10 seconds of "This is my company, I made this, Enjoy". P. Diddy from Get Him To The Greek may say, this is a great way to mind f@#% your audience. I agree with you P. Diddy and will follow your ways in the ancient art of mind f#@!ing.
As to begin, The software I use to create my videos and such is none other than Sony Vegas Video 9 pro. Adobe After Effects proved to be a lot more confusing and complicated than I anticipated forcing me to learn the software on my free time. Vegas Video how ever is rather simplistic while giving me seemingly professional grade material at an elementary learning level. I just condescended my own intelligence huh? Add that to someone's fail blog... Moving along from my ADD moment into the primary basis of this entry.
In an effort to capture my audience, also know as "mind f@#!ing", I have experimented in the area of introductions. I have played around with lighting effects. lightNing effects, epic music, sound bites, tutorials and my own creative undertaking. Displayed are some of my favorite results, also check out the Hartford Cribs introduction just previously posted.
I just enjoyed making this because a few of my close friends like to call me Superman. Unfortunately it isn't due to my extraordinary superr strength or ability to fly, but simple because of a certain shirt and hat...
On a more serious note I needed something to represent the blog and that I mean buisness. So I pulled a sound clip from here and decided to create this:
June 11, 2010
MTV Cribs meets Hartford (the University of)
Are you one of those people who think its just an overall creepy concept to go into someone's house, video tape them and their property, add a few effects and throw in some video editing and mass produce it to everyone all over the world? Good cause neither am I, I think its a brilliant idea and Nina L. Díaz is a genius.
In related news, I go to the University of Hartford and my floor and I, along with the RA, decided to come up with this project. In short it is a bootleg MTV cribs comes to Hartford, uncreatively named Hartford Cribs. Here is the Pilot:
This post is strictly asking for the feedback and constructive criticism of anyone out there. Please comment and tell me what you think so I can continue ripping off major television companies for my own self-benefit.
June 10, 2010
This Just In: Chicks Dig Tattoos!
Recent studies* indicate that tattoos are the "artistic way into a girls heart." There are a number ways people justify puncturing their outer layer of skin to fill the layer underneath with a motorized pen. A large portion of tattoos are designed with sentimental value attached, others go for the intimidation factor, while others simply have a bad case of the, "Ooh I gotta have it!" But either way this is an expensive processes leading to a few weeks of maintenance introducing you to an entire lifetime of being Ed Hardy's scrap book. I bet people just wish they could see themselves with these artistic creations before they become permanent. So lets get to why this is relevant.
The addition of tattoos are nothing new or spectacular to Photoshop. It is nothing more than a routine edit, but I have some insight to give pictures a more realistic look. Unfortunately my desktop with all my work crashed earlier today, thank god for photoshop, but unfortunately I wont be able to show you step by step photos of what I did so the power of speech (or text?) will have to suffice.
Basic Technique to Add a Tattoo:
-Add a New Layer
-Paste black and white tattoo image on a predetermined area
-Change the blending option to Multiply
-Transform accordingly (Ctrl + t)
-Decrease Opacity to your liking
-Blur if necessary.
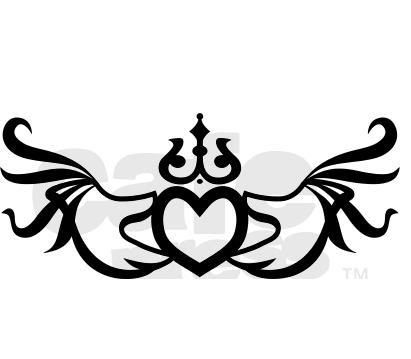
Example using THIS for a tattoo:
I hope I'm not talking out of pure experience, but sometimes you may get a friend asking you to put this crazy unnecessary tribal style wings to put on his back and your given nothing but the never-going-to-happen tattoo image and a picture from your friends phone. I know, the odds of this happening are crazy but sometimes your posed with a high quality tattoo image and a not so great quality photo to put it on. This is how I deal:
Added Techniques When Given a Low Quality Photo:
-Add Noise. By disrupting the entire photo you seem to lose the obvious sense of high quality and low. It does the same affect you expect from a blur but in a more natural sense. A low quality photo is more likely to look fuzzy then blurry. Don't believe me? Which do you believe? The noisy tattoo picture below or the blurry pictures of big foot...
-Shade the tattoo. Use the Lasso Tool and select the areas lighter, or darker depending on which is less dominant, then the rest of the picture and go to Brightness/Contrast and scale accordingly.
-Decrease the Brightness of the entire pictures, as the final step to be used only when the photo doesn't come together as you please. When dealing with photos of a high difference in quality you deal with images that are considered sharp like a hunter's knife when the other is just a butter knife. After doing this the difference in qualities should be hardly distinct if at all.
To make this work I used ALL of these steps indicated above, both routine and new. How do you think it turned out? I used THIS for the tattoo. (Once again I apologize for not having my work backed up, I won't let it happen again)
*By recent study, I mean some girl I asked the other day...
Basic Technique to Add a Tattoo:
-Add a New Layer
-Paste black and white tattoo image on a predetermined area
-Change the blending option to Multiply
-Transform accordingly (Ctrl + t)
-Decrease Opacity to your liking
-Blur if necessary.
Example using THIS for a tattoo:
I hope I'm not talking out of pure experience, but sometimes you may get a friend asking you to put this crazy unnecessary tribal style wings to put on his back and your given nothing but the never-going-to-happen tattoo image and a picture from your friends phone. I know, the odds of this happening are crazy but sometimes your posed with a high quality tattoo image and a not so great quality photo to put it on. This is how I deal:
Added Techniques When Given a Low Quality Photo:
-Add Noise. By disrupting the entire photo you seem to lose the obvious sense of high quality and low. It does the same affect you expect from a blur but in a more natural sense. A low quality photo is more likely to look fuzzy then blurry. Don't believe me? Which do you believe? The noisy tattoo picture below or the blurry pictures of big foot...
-Shade the tattoo. Use the Lasso Tool and select the areas lighter, or darker depending on which is less dominant, then the rest of the picture and go to Brightness/Contrast and scale accordingly.
-Decrease the Brightness of the entire pictures, as the final step to be used only when the photo doesn't come together as you please. When dealing with photos of a high difference in quality you deal with images that are considered sharp like a hunter's knife when the other is just a butter knife. After doing this the difference in qualities should be hardly distinct if at all.
To make this work I used ALL of these steps indicated above, both routine and new. How do you think it turned out? I used THIS for the tattoo. (Once again I apologize for not having my work backed up, I won't let it happen again)
June 8, 2010
Free Tan Without The Cancer?
With summer finally here a lot of people will be going out into the UV-filled sun exposing themselves to it's harmful rays in hopes of social acceptance. After receiving your cancer causing fix your off grasping your camera screaming, "MYSPACE!" (or Facebook given the time we live in now...) Well thanks to Photoshop, my unhealthy summation of bordem, and a girl who burns too easy, I've developed a technique to add healthy tans with no risks! No more pumpkin looking conformists, just fake bakers without the cost of a tanning bed =).
Before
This Jane Doe doesn't need halloween to scare off the local children, especially with this black contrast she resembles a seductive ghost, possibly Casper's sister.
Uncertain why her luscious skin became an aggressive burden once the sun hit she came to me in desperation to help her.
Understanding her history with such endeavors I understood tanning was something best left to the professionals (or those who use Photoshop as an unhealthy habit, its really just a fine line.) Some experimentation with Photoshop CS4 lead to the following results:
After
¡Violà! What a healthy glow huh? A completely healthy tan without any dreaded tan lines, unnecessary risks of burns, or harmful cancer causing implements! She proved to be a real Italian after all, at least that's what everyone probably believed until this post...
Below is some other work I've done using Photoshop CS4 to create well rounded tans just in time for the fill those summer albums.
Before
This Jane Doe doesn't need halloween to scare off the local children, especially with this black contrast she resembles a seductive ghost, possibly Casper's sister.
Uncertain why her luscious skin became an aggressive burden once the sun hit she came to me in desperation to help her.
Understanding her history with such endeavors I understood tanning was something best left to the professionals (or those who use Photoshop as an unhealthy habit, its really just a fine line.) Some experimentation with Photoshop CS4 lead to the following results:
After
Below is some other work I've done using Photoshop CS4 to create well rounded tans just in time for the fill those summer albums.
Subscribe to:
Posts (Atom)